How to Lay Laminate Flooring: A Step-by-Step Guide
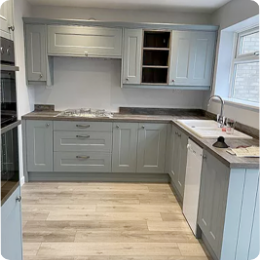
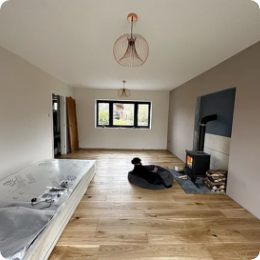
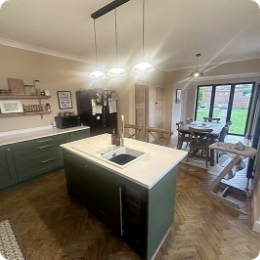
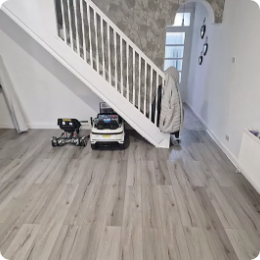
Laminate flooring is one of the UK’s most popular choices — and for good reason. It’s hard-wearing, affordable, and comes in a huge variety of styles. Better still, it’s easy to maintain and ideal for busy areas like hallways, kitchens, and family spaces.
Fitting laminate is more straightforward than you might think, but preparation is everything. Get the basics right and your floor will not only look great but last for years.
Do I need underlay for laminate flooring?
Yes — always. Underlay protects your floor, helps it feel better underfoot, and keeps it quieter too. It also improves insulation, which can make a difference to your energy bills.
The type of underlay depends on your sub-floor:
-
Wooden sub-floor → Fibreboard underlay works well. It insulates against heat loss and covers small uneven spots (up to 3mm).
-
Concrete sub-floor → You’ll need underlay with a built-in damp-proof membrane, such as foam. If you prefer fibreboard, you’ll need to add a separate damp-proof layer.
💡 Tip: Always follow the underlay manufacturer’s guidance. Like laminate itself, underlay should be left to acclimatise in the room before fitting.
Preparing a concrete sub-floor
Concrete is porous, so it’s important to check for moisture before laying any floor. The simplest DIY test is to tape a 1m² sheet of polythene down overnight — if droplets form underneath, the floor is damp.
For accuracy, a moisture meter is best:
-
12% or less on a prong test
-
3% or less on a moisture meter
If your concrete is too damp, fix the issue before fitting. Otherwise, use a damp-proof membrane or an underlay with built-in protection to keep moisture out.
How much laminate flooring will I need?
-
Measure the room (length × width = m²).
-
Check the coverage per pack.
-
Add 10–15% extra for cuts and waste.
Before laying, let the boards acclimatise flat in the room for at least 48 hours. Never lean packs against a wall, as this can warp them. If you’re using underfloor heating, lay the packs individually on the floor rather than stacking.
Planning your layout
-
Direction: Running boards towards a light source makes joins less visible. Lay across the width of a narrow room to make it feel wider.
-
Expansion gap: Always leave 10–12mm around the edges for natural movement.
-
Skirting & trims: Remove skirting before fitting if possible, then refit or use trims to cover the gap afterwards.
-
Row planning: Avoid edge boards thinner than 60mm by trimming the first row if needed.
Take time to “dry lay” a few rows before you start — it makes cutting around tricky spots like pipes or door frames much easier later.
Fitting laminate flooring
Most laminate uses a click system (Rapid Fit or Twin Clic are common). Rapid Fit is simpler for solo jobs; Twin Clic is easier with two people.
Here’s a simplified step-by-step using Rapid Fit:
-
Prep the room – Remove doors, prepare underlay, and trim architraves so boards slide neatly underneath.
-
Start in a corner – Place the first board with the tongue edge against the wall. Use spacers for the 10–12mm gap.
-
Click into place – Add the next board end-to-end and click down. Continue until you reach the wall.
-
Trim to fit – Measure and cut the last board of the row with a jigsaw or saw.
-
Stagger rows – Start the second row with an offcut at least 300mm long to stagger joins. Continue clicking boards together.
-
Work across the room – Repeat row by row until you reach the final wall. Measure carefully and cut boards to size, remembering the expansion gap.
Around door frames & pipes
-
Door frames: Trim the architrave so the board can slide underneath. Allow for the expansion gap and finish with a threshold bar.
-
Radiator pipes: Mark the centre of the pipe on the board, drill a 32mm hole, then cut two angled lines out to the edge. Fit the board, glue the cut-out wedge back, and finish with a pipe surround for a neat look.
Finishing touches
Once the floor is laid, remove the spacers. Refit your skirting or add trims (fixed to the wall, not the floor) to cover the gaps. For corners, cut trims at a 45-degree angle for a seamless finish.
Key takeaways
-
Preparation is just as important as laying the boards.
-
Underlay isn’t optional — it protects your floor and improves comfort.
-
Always leave expansion gaps to avoid future warping.
-
Staggered joins don’t just look better, they make the floor stronger.
With the right prep and a steady approach, laying laminate is a DIY project you can tackle with confidence. And when it’s done? You’ll have a floor that looks great, lasts for years, and transforms the space it’s in.